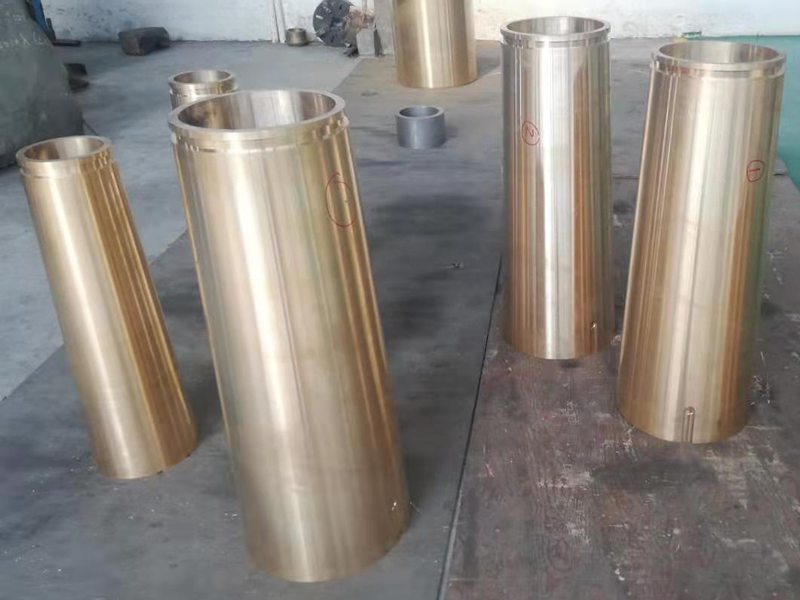
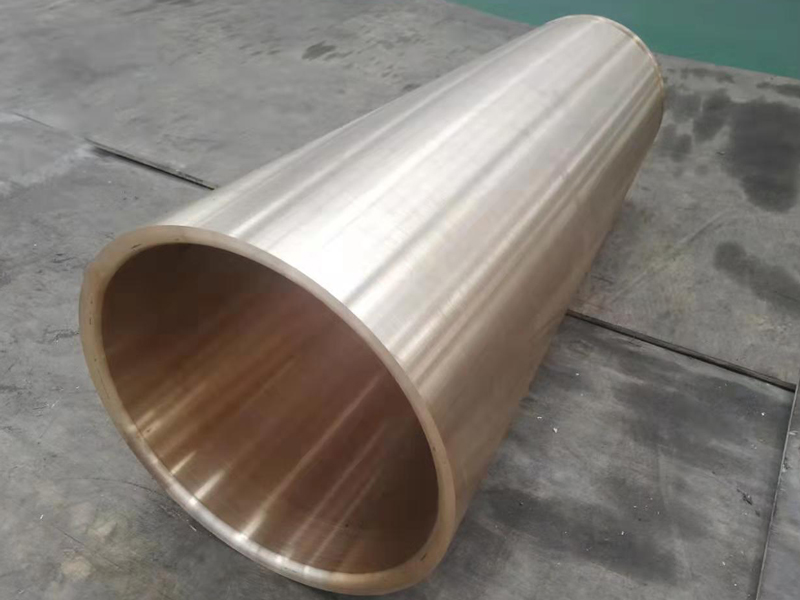
The inner taper hole on the
bronze taper sleeve that matches the spindle is the key part of the assembly. The taper size measurement and workpiece clamping are the key and difficult points of the processing process.

Selection of the size control method of the inner taper hole
Because the inner hole size of the workpiece is too large, a special large-size taper plug gauge is required. It is difficult to design and manufacture such a large taper plug gauge, and it is inconvenient to measure during the processing, the detection range is small, and the measurement is inaccurate, and it cannot truly reflect the taper size of the entire inner taper hole. As a single-piece small batch production, the taper plug gauge cannot be universal and the cost is high.
The inspection is carried out by combining the inner diameter micrometer with the auxiliary measuring ruler. The principle is to use trigonometric function calculation to convert the horizontal diameter of the measured position into a measurement value perpendicular to the cone surface. The method is to calculate the diameter of the measured position based on the diameter size, height and cone angle, and then calculate the measurement value based on the measured diameter.

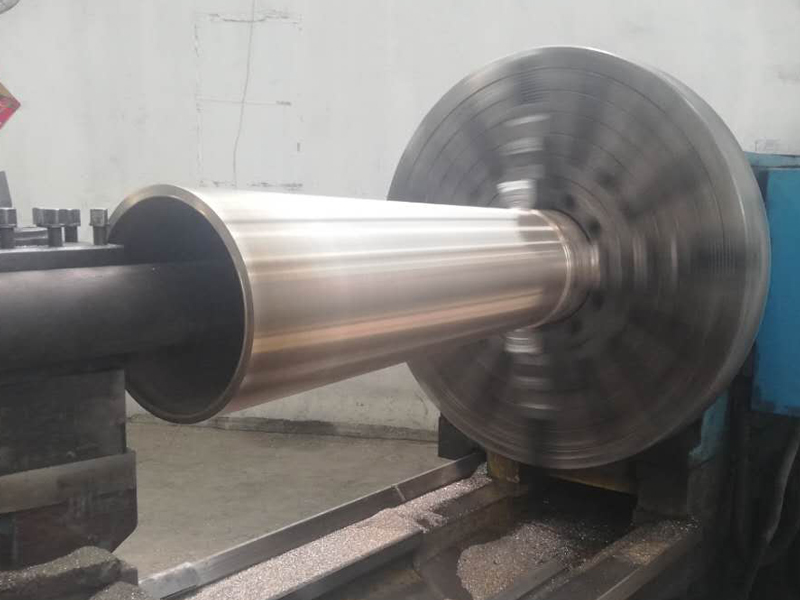
Processing and clamping of inner taper hole
The inner and outer circles of the bronze taper sleeve are both taper surfaces, and the axial size is relatively long. If it is clamped on a vertical lathe according to general processing habits, the center of gravity of the workpiece is close to the top and the stability is poor. Therefore, a special clamping tool can be used, that is, welding process discs and process blocks, lathe chuck clamping process discs, using the middle process block to press the workpiece and then process the inner cone surface. This method ensures the stability and reliability of the processing process.
