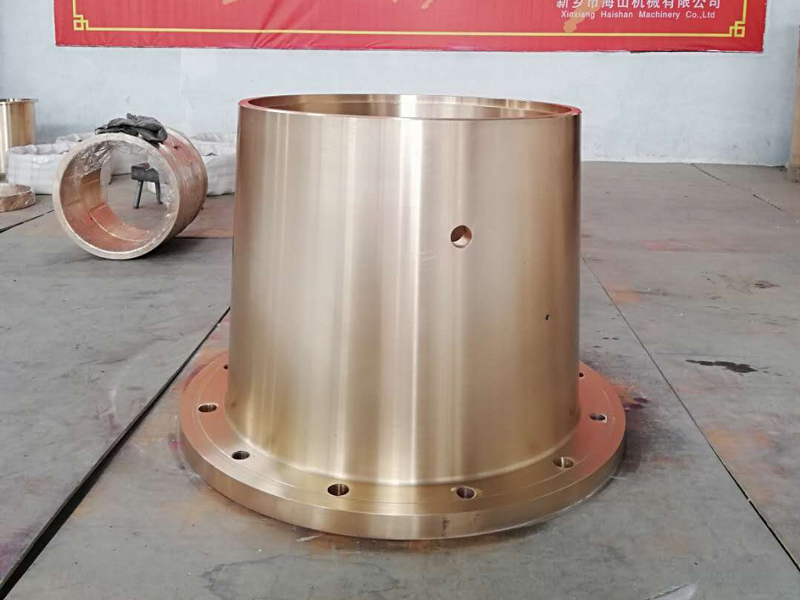
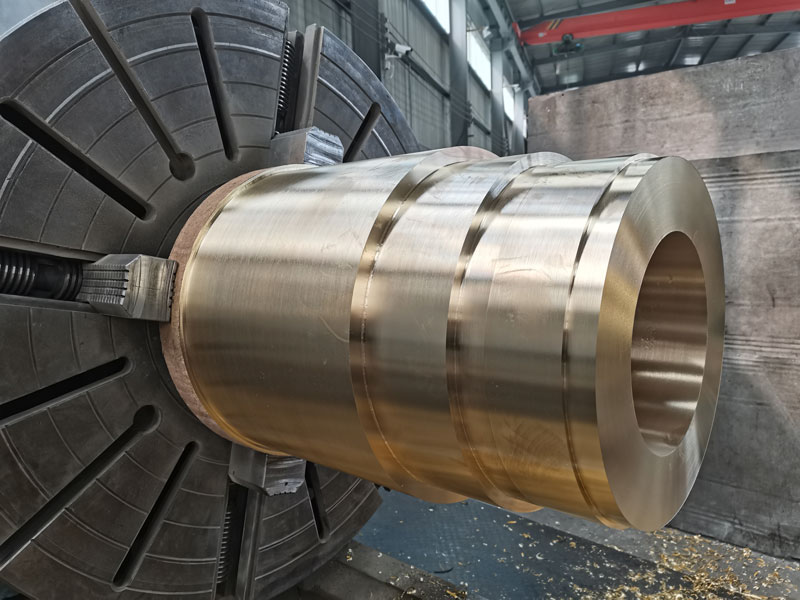
The flanging deformation of brass casing materials is relatively complex. During the expansion process, the material in the deformation zone is mainly affected by tangential tensile stress, causing elongation deformation in the tangential direction. After the expansion is completed, its stress state and deformation The characteristics are similar to those of inner hole flanging. The deformation zone is mainly tangential drawing deformation, and its ultimate deformation degree is mainly limited by edge cracking.
Considering that the production batch of parts is not large and the above-mentioned processing steps are many, which affects the improvement of economic benefits, and also noticed that there are 30mm×1.5mm brass tubes on the market, it is considered to use copper tubes to complete the processing of parts by directly flanging them. .
The part has a simple shape and low dimensional accuracy requirements, which is conducive to forming. According to the structure of the part, usually the most economical and intuitive process plan will consider using the flat blank to directly form the part through flanging the inner hole. To this end, it is first necessary to determine the maximum height of the part that can be achieved with one flanging.
Since the maximum flanging height of the part is much smaller than the height of the part (28mm), it is impossible to make a qualified part using the direct flanging method. To form the part, you must first draw it deeply. After calculating the diameter of the blank and judging the number of times of drawing of the flange-drawn part, it can be determined that the part adopts the process plan of drawing. It must be drawn twice, and then the bottom of the cylinder can be cut off before processing can be completed.
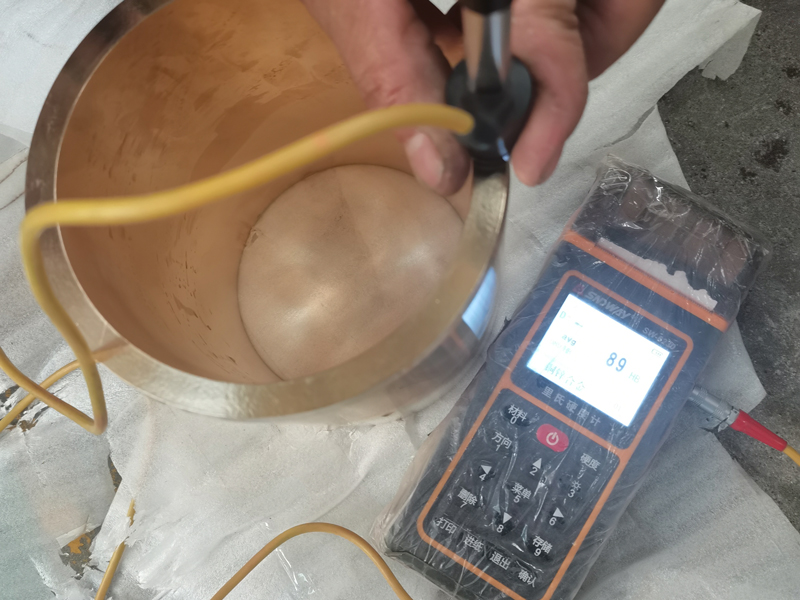
Hardness Testing:
Professional hardness tests all use Brinell hardness. Generally speaking, the smaller the Brinell hardness value, the softer the material, and the larger the indentation diameter; conversely, the larger the Brinell hardness value, the harder the material, and the indentation diameter will be larger. The smaller the diameter. The advantages of Brinell hardness measurement are that it has high measurement accuracy, a large indentation area, can reflect the average hardness of the material in a wide range, the measured hardness value is also more accurate, and the data has strong repeatability. If you still have any questions, please feel free to call us. Xinxiang Haishan Machinery is specialized in solving all kinds of copper casting questions for you.


 Russian
  Albanian
  Arabic
  Amharic
  Azerbaijani
  Irish
Irish  Estonian
  Odia (Oriya)
  Basque
  Belarusian
  Bulgarian
  Icelandic
  Polish
  Bosnian
  Persian
  Afrikaans
  Tatar
Tatar  Danish
  German
  French
  Filipino
  Finnish
  Frisian
  Khmer
Khmer  Georgian
  Gujarati
  Kazakh
  Haitian Creole
  Korean
  Hausa
Hausa  Dutch
Dutch  Kyrgyz
  Galician
  Catalan
  Czech
Czech  Kannada
  Corsican
  Croatian
  Kurdish (Kurmanji)
  Latin
Latin  Latvian
  Lao
Lao  Lithuanian
  Luxembourgish
  Kinyarwanda
  Romanian
  Malagasy
  Maltese
  Marathi
  Malayalam
  Malay
Malay  Macedonian
  Maori
Maori  Mongolian
  Bengali
  Myanmar (Burmese)
  Hmong
Hmong  Xhosa
Xhosa  Zulu
Zulu  Nepali
  Norwegian
  Punjabi
  Portuguese
  Pashto
  Chichewa
  Japanese
  Swedish
  Samoan
  Serbian
  Sesotho
  Sinhala
  Esperanto
  Slovak
  Slovenian
  Swahili
  Scots Gaelic
  Cebuano
  Somali
  Tajik
Tajik  Telugu
  Tamil
Tamil  Thai
Thai  Turkish
  Turkmen
  Welsh
Welsh  Uyghur
  Urdu
Urdu  Ukrainian
  Uzbek
Uzbek  Spanish
  Hebrew
  Greek
Greek  Hawaiian
  Sindhi
  Hungarian
  Shona
Shona  Armenian
  Igbo
Igbo  Italian
  Yiddish
  Hindi
Hindi  Sundanese
  Indonesian
  Javanese
  Yoruba
  Vietnamese
  Hebrew


